ERW Steel Pipe Inspection Process - Brass Fittings will always be needed!
Created at :
Aug 19, 2020
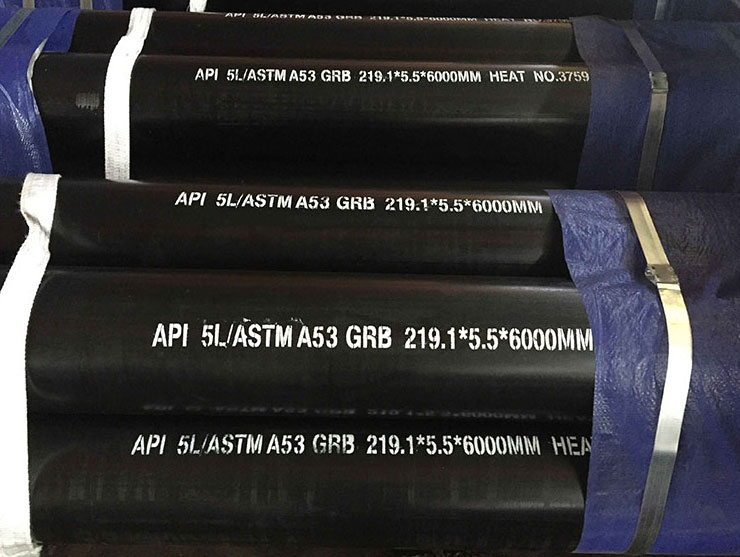
Permanent Steel Manufacturing Co., has years of experience in manufacturing carbon steel pipe, stainless steel tube, hollow section.

The details of A53 ERW pipe evaluation process:
1. Non-destructive testing
Rotate the detection arm of the inspection station into the straight seam welded pipe production line, observe the position of the weld through the camera, adjust the front and rear position of the probe with the operating lever, make the weld overlap with the laser, and save the parameters. Enter the steel strip volume number via the DATASERVR and DACQ computers.Observe the flaw detection interface waveform display. When the waveform exceeds the alarm line, compare the thickness measurement information to determine whether it is a defect wave or interference wave signal, and visually inspect the pipe to see if the waveform exceeds the alarm line. When the alarm line is exceeded, the alarm will be given. Stop the machine in time and re-adjust the welding parameters.
The application of surface non-destructive testing is carried out in accordance with the requirements of the standard. The detection objects and applications are generally as follows:
- The quality inspection of the outer surface of the pipe material.
- Detection of surface defects of important butt welds.
- Detection of surface defects of important fillet welds.
- Detection of surface defects of welding sockets of important socket welding and bridging three-way branch pipes.
- Detection of surface defects after pipe bending.
- Bevel detection of welded joints with larger material quenching tendency.
- Detection of non-austenitic stainless steel pipe grooves whose design temperature is lower than or equal to minus 29 degrees Celsius.
- Welding seam of double-side weldment specified rooting inspection after rooting
- When oxyacetylene flame is used to cut welding fixtures on alloy pipes that have a tendency to harden, the defects of the repaired parts are detected.
2. Destructive test
- Flattening test. Cut about 100mm welded pipe, place it under the hydraulic press, the position of the weld is perpendicular to the direction of the hydraulic press, start the oil pressure, slowly press the welded pipe, press it to 3/4 of the diameter, and check whether the weld is cracked. If there is no crack, weld the seam; if there is crack, adjust the welding process parameters in time.
- Flaring test. Cut about 100mm welded pipe and place it on a conical top core; place the conical top core under the hydraulic press, start the oil pressure, slowly press the welded pipe down, and when the flaring is 8%, check whether the weld is cracked. If there is no crack, weld the seam; if there is crack, adjust the welding process parameters in time.
3. Metallographic examination
- Metallographic microstructure of the weld. Generally, after the weld is heat-treated, it is used to judge whether the coarse structure in the heat-affected zone is completely eliminated, and whether it is basically consistent with the base metal structure, and whether there is inclusion in the weld fusion line. In general, the weld has no inclusions, no microcracks, and the structure of the structure is clear, indicating the weld seam. IN this case Brass Fittings may be needed.
- Metal streamline shape. In high-frequency welding, the proximity effect and the skin effect cause the edge of the strip to be in a molten and semi-molten state. Under the pressure of the squeeze roll, the weld metal flows inward and outward, and the flow lines of the parent metal on both sides of the weld rise to form a clip. The angle, called the streamline angle a, is generally judged to be qualified at 40 °to 70°; beyond this range, the welding process parameters need to be adjusted in time.